ElectionChamp
Introduction
If you’ve ever organized an in-person election, you know the drill: printing ballots, booking a venue, counting votes by hand, dealing with lost proxies, and spending hours on logistics that could have been spent on actual governance work.
Online voting eliminates all of that. And with modern platforms like ElectionChamp, the entire setup process takes less time than ordering lunch.
Whether you’re running a board election for your HOA, a leadership vote for your nonprofit, or an officer election for your union, this guide walks you through every step. By the end, you’ll have a live election with secure voter keys, automated notifications, and real-time results — all without writing a single line of code.
Before You Begin: What You’ll Need
Before you log in and start building, gather these items so the process goes smoothly:
- A voter list. Keep it in Excel, Google Sheets or a CSV file, with names and email addresses (or mobile numbers with the country code, for text messages). You can paste it straight into ElectionChamp. For smaller elections, you can type voters in.
- Your ballot details. Know what positions or questions you’re voting on, who the candidates are, and what voting method you want to use (most elections use Plurality, where the most votes win).
- Your election timeline. When should voting open? When should it close? What time zone are your voters in?
- Your organization’s logo (optional). A PNG or JPG file that appears on the ballot, emails, and results page for a professional, branded experience.
Got all that? Let’s build your election.
Step 1: Start (Name, Dates and Logo)
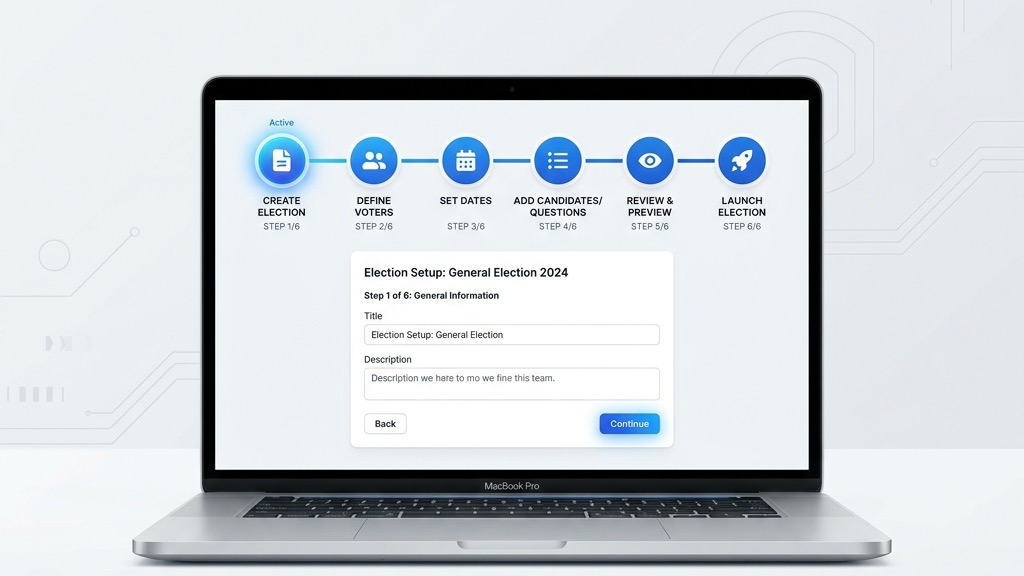
After creating your free account at app.electionchamp.com, go to My elections and choose “Start from scratch”, or “Start from a template” to get a ballot, settings and invitation filled in. The first step, Start, puts the name, dates and settings on one page, and saving it creates a draft.
Election Name: Enter something clear and recognizable, like “2026 Board of Directors Election” or “Annual Budget Approval Vote.” This name appears on the ballot, in all email notifications, and on the results page. Your voters will see it, so make it descriptive.
Organization Name: Enter your organization’s name. This appears in the ballot header and notification emails, giving everything a professional, branded feel.
Logo: Drop your organization’s logo on the box or choose a file (PNG or JPG, up to 1.5 MB). It appears at the top of the ballot, on the voter confirmation page, and in invitation emails. If you skip it, the ballot still looks clean.
Voting window: Set “Voting opens” and “Voting closes”. A new election starts at 9:00 AM tomorrow and closes a week later at 5:00 PM. “Now” opens voting as soon as you launch, and the “Open for” picks (3 days, 1 week, 2 weeks) set the close in one click. Voters can only vote in this window.
Time Zone: This is the single most common source of confusion in online elections. ElectionChamp detects your time zone from your browser and shows it under the dates, with a “Change” link. Invitations state the deadline in that zone, so a member in New York who reads “5:00 PM Pacific Time” has until 8:00 PM their time. Double-check this setting.
Pro tip: Give voters at least 3–5 days to vote. Longer windows mean higher participation, especially if your members span multiple time zones.
Step 1, Continued: Choose Your Settings
The Settings card on the Start page controls who sees results while voting is open, how voters get their key, and which extra columns your voter list has. Safe choices are already selected, and each setting has an information button that explains it.
Who can see results while voting is open?
You have two options:
- No one (the default): Nobody, you included, sees the count until voting ends. This is the most secure option and prevents early results from influencing remaining voters.
- You and your observers: You, and anyone you give an observer link, see the totals as votes come in. Watching them change can show how someone voted, so for a fully secret election, choose No one. You see turnout either way.
- Either way, the results open to you and your observers when voting ends, and you choose whether to share them with voters. “Send Election Results” on your dashboard sends each voter a link to them.
How will voters get their key?
Each voter gets a private 16-character key, which is all they need to vote. Pick one or more ways to deliver it. A new election starts with Email selected:
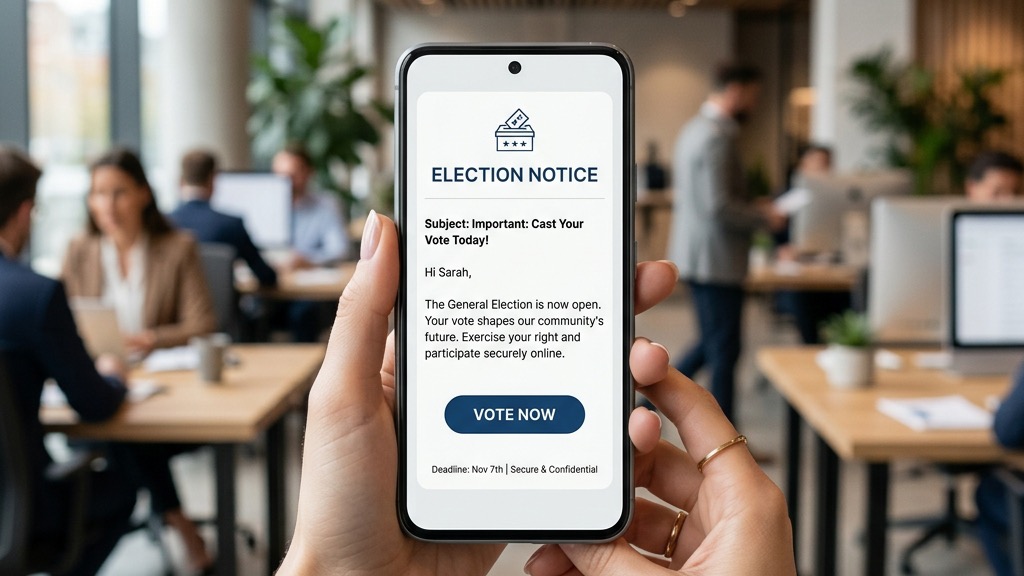
- Email: When voting opens, each voter gets an email with their personal voting link. This is the most common method. It’s fast, and you can resend it from your dashboard.
- Text message: When voting opens, each voter gets a text with their voting link. Great for reaching voters without email or for higher open rates.
- Hand out keys: You download the 16-character keys after launch and give them out yourself, on paper, by mail or in person. Perfect for in-person meetings or voters without digital access.
Note: Your choice shapes the Voters step. Email needs an email address for each voter, and text messages need a phone number that starts with the country code. With Hand out keys, voters need no contact details.
Optional: Extra Columns in Your Voter List
Voter label is on by default: a name you’ll recognize on the Voters tab. Turn on Ballot IDs for your own member or unit numbers. Turn on Weighted ballots only for votes by units or shares; each voter then needs a whole-number weight.
Step 2: Build Your Ballot
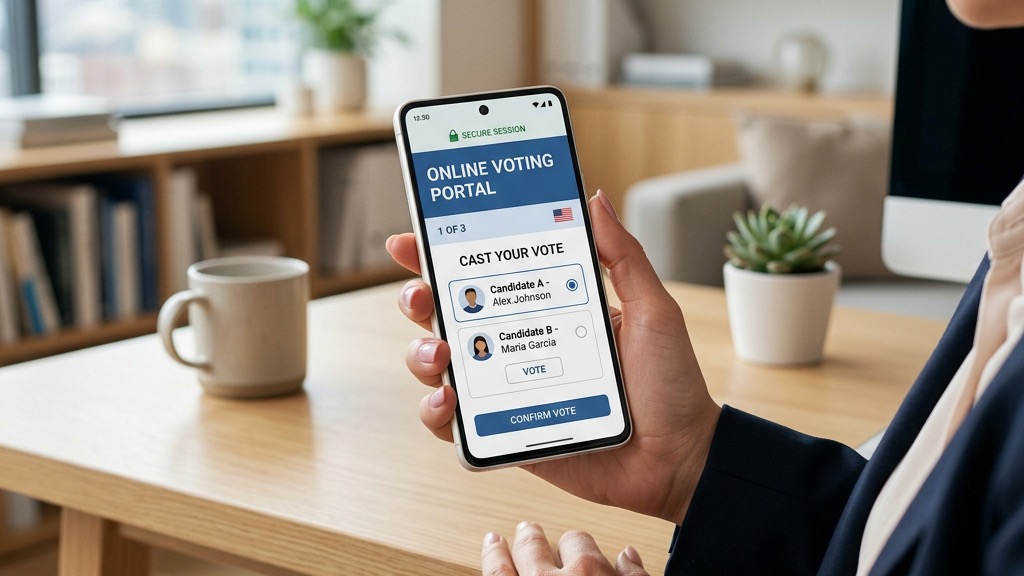
This is the heart of your election. Add up to 50 questions (ballot items), one card each, each with its own voting method. The “What voters see” panel shows the question you’re editing on a phone as you type.
For each ballot question:
- Choose a Voting Method. Pick one of four buttons. Plurality (most votes win) is the default for most elections. Ranked lets voters rank candidates, and higher ranks earn more points. Cumulative gives each voter one vote per winner to give to one choice or spread out. Nominations has no list: voters write in names. For STV (proportional representation), collect ranked ballots, export the ranked results when voting closes, and count them in ElectionChamp’s free STV Excel calculator.
- Write the Question or Position. Keep it to 60 characters, for example “President,” “Board Member,” or “Budget Approval.” This appears as the heading for this ballot item.
- Add Voter Instructions (optional). Explain context and rules, such as “Terms are 2 years.” Voters see this text under the question’s choices. The ballot already tells them how many to choose, for example “Choose up to 3 candidates.”
- Add Candidates or Options. Type a name and press Enter for the next, or paste a column of names; drag to reorder. Every question except Nominations needs at least 2 choices. “Photo & bio” adds a photo and biography. Voters click “View Information” on their ballot to read these details before making their selection.
- Set Winners and Options. Set Total winners (for example 3) and, for Plurality, whether voters pick “Up to” or “Exactly” that many. A line under the counts explains the result, such as “Each voter picks up to 3 candidates. The 3 with the most votes win.” Then turn on Random order, Allow abstain or Ask for comments as needed.
- Preview the Ballot. Once you save, “Preview the full ballot” opens every question exactly as voters get it. You can interact with the preview: select candidates, view the confirmation screen, and see the thank-you page. Nothing is counted.
Pro tip: If you’re unsure how to structure your ballot, start from a template, such as Board of Directors, Annual HOA, AGM or Bylaws amendment. The ballot, settings and invitation are filled in, and you can change anything before you launch.
Step 3: Add Your Voters
This step defines who is eligible to vote.
Option A: Paste or Upload. Copy your rows from Excel or Google Sheets, heading row included, and paste them into the grid; columns are matched by name. Or choose “Upload CSV” and confirm each column in “Match your columns”. Save Excel files as CSV first. Include an Email column for email invitations, and phone numbers with country codes for text messages.
Option B: Enter Manually. For smaller elections, add voters one by one using the interactive grid. Click on a cell and type directly.
Set a Few Spare Keys. Spare keys are blank voter slots for members you add after launch: once voting opens, click + beside Spare keys on your dashboard’s Voters tab. They count toward the price, but they’re worth the small cost. The “Price so far” meter shows your total.
Note: If you chose Hand out keys, voters can be in the list without an email or phone. You print or download their 16-character keys from your dashboard’s Voters tab after launch. Each key is a one-time-use access pass to the ballot. Cells with a problem turn red, and nothing saves until every row is valid.
Step 4: Check Your Invitations
Your invitation email and text message are written for you. Send them as they are, or add your own words. The email’s subject is “Vote in” followed by your election name, and replies come to you. A live preview shows the real email on a phone.
The email supports Markdown formatting: wrap words in **two asterisks** for bold. Before you launch, use “Email me a test” to send the message to yourself. It works once your email address is verified, up to 5 tests an hour.
Labels That Fill In for Each Voter
Use the Insert chips to add labels. They appear in square brackets and are replaced with real values when sent:
- [Voting link]: the voter’s personal voting link. It stays in every message, so it can’t be deleted by accident
- [Election name]: the name you set on the Start step
- [Organization]: your organization’s name
- [Deadline] and [Time zone]: when voting closes
- [Access key]: the voter’s 16-character key, to type in at the [Access link] page
For text messages: A counter shows the length once the labels are filled in. A text message can be up to 160 characters, and characters outside the basic set, such as emoji, fit only 70 to a text. Its Insert chips are Voting link, Election name and Deadline.
Step 5: Launch
The last step shows a summary of your election, with an Edit link beside each part, and a “What happens next” timeline.
- Check the Summary. It reads “Ready to launch” when everything checks out; otherwise “Before you can launch” lists what’s missing, with a link to fix it. Once launched, the setup is locked so every voter gets the same ballot. “Try the ballot first” lets you vote on a preview.
- Pay (if applicable). Up to 20 voters is free. For 21 to 200 voters, it’s a flat $10. Above 200, it’s $10 plus $0.05 per additional voter. Spare keys and hand-out keys count as voters. Paid elections show a card field here, and you pay once, through Stripe.
- Launch. Press “Launch election” (a paid election shows the price on the button). Your email address must be verified first. A 16-character key is made for each voter right away, and invitations go out when voting opens at your start time (or right after launch if you chose Now). You’ll be redirected to your Election Dashboard.
What Happens After Launch
Once your election is live, your dashboard becomes your command center. You’ll see real-time stats including total voters, votes cast, pending votes, and a live countdown. A donut chart shows voter status breakdown (Pending, Voted, Cancelled, Error), and a participation trend line chart tracks cumulative votes over time.
From the dashboard, you can preview the ballot, manage the voter list, resend notifications to individual voters, close the election early if needed, and send results to all voters with one click after the election ends. You can also add voters with spare keys and send reminders. “View Election Setup” opens a read-only summary of what you launched, including the invitations as sent and the amount paid.
Your Election, Your Way
That’s it. Five steps, and your election is live. No venues to book, no ballots to print, no votes to count by hand. Your voters receive a secure link, vote from their phone or computer, and results are calculated automatically.
Whether you’re a first-time election administrator or a seasoned board member looking for a better process, ElectionChamp is designed to make secure, professional elections accessible to every organization.
Planning your next vote? Read about how online elections work and the full feature list, or see pricing: free up to 20 voters, $10 up to 200, then $0.05 per voter.